By Dan Winchester, 3925
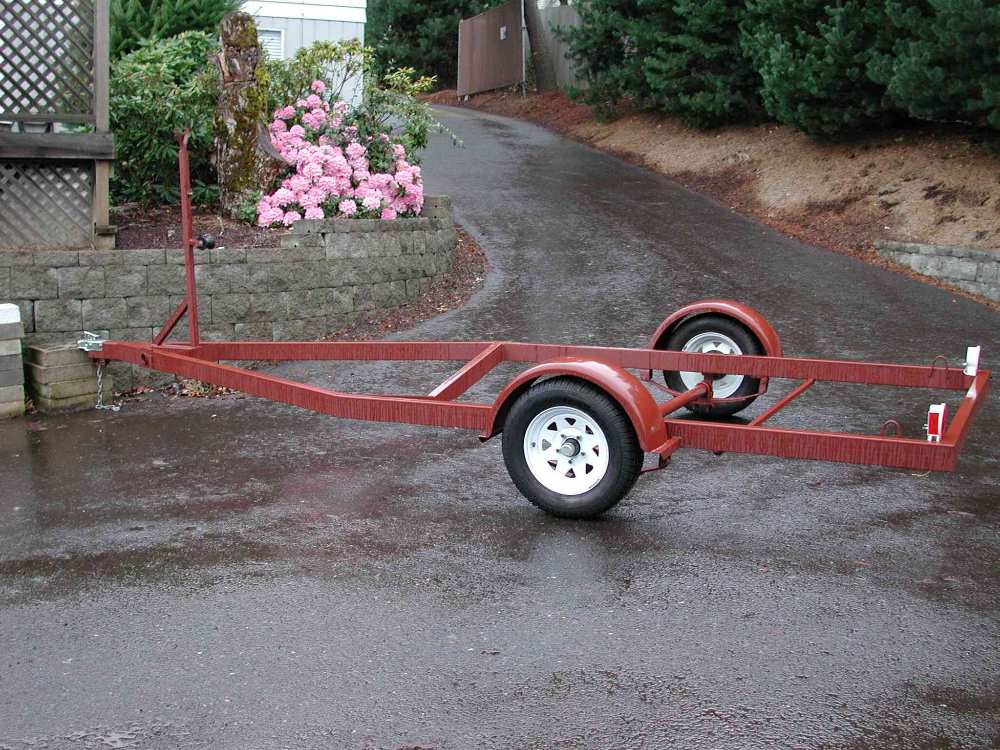
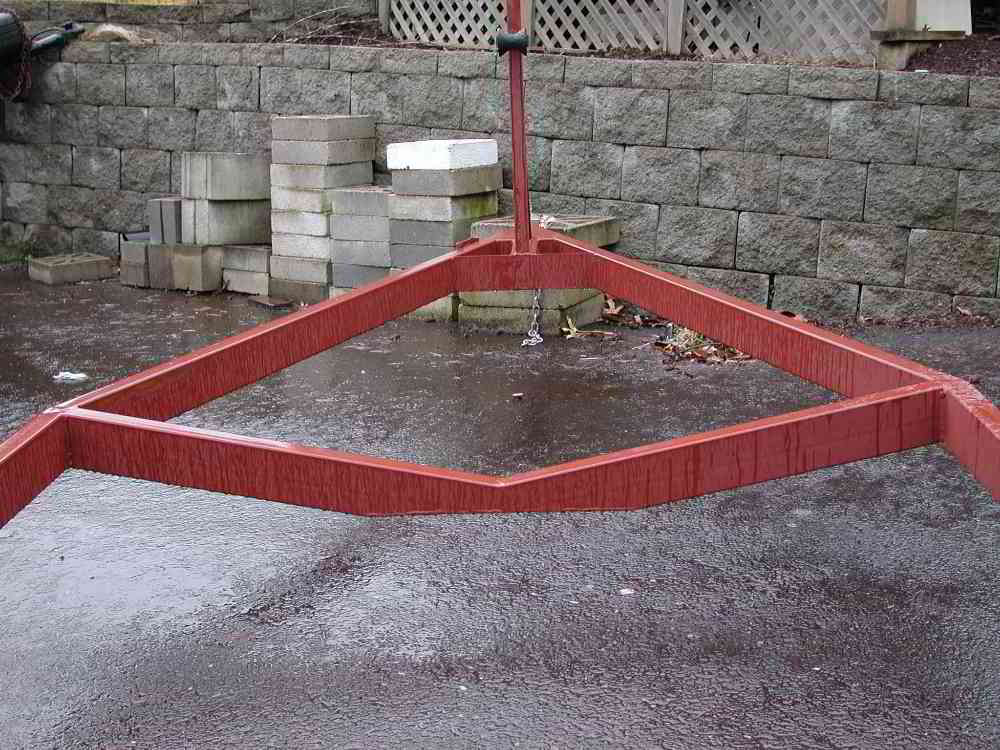
The following drawing is only the basic layout of a thistle trailer with appropriate dimensions. It is built mostly of 2 x 4 steel box tubing 3/32″ thick. The basic design is what I have used for almost 20 years, this is the latest with very minor improvements.
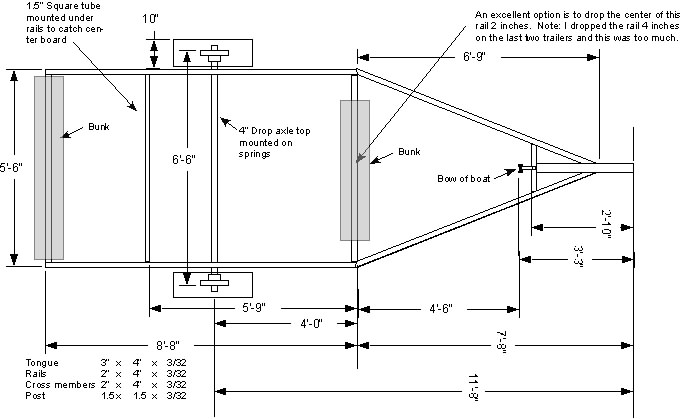
As you can see from this drawing I am a proponent of two bunks, the first positioned under the back edge of the bow tank and the second is centered under the stern edge of the seat tanks. The spacing on this trailer matches the Fox, Clark, First to the Mark, Spens and Northwest One Design hulls. With other hulls, spacing may need to be adjusted due to slight variations in bow tank design.
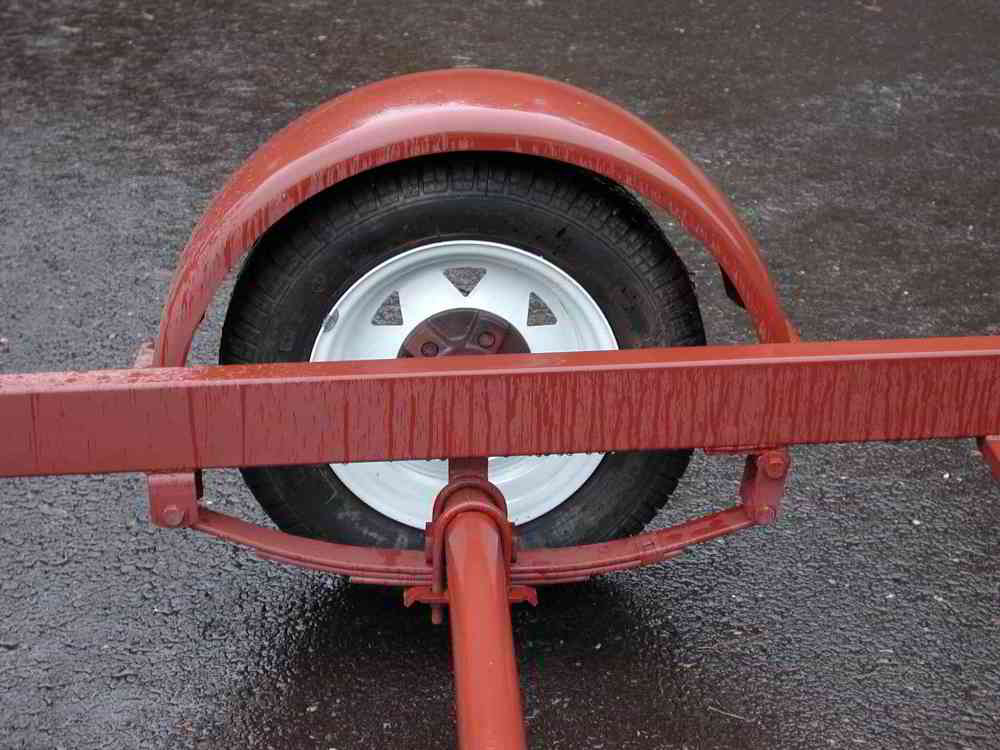
I mount the axle on top of the springs to get the boat as low to the ground as possible — why else build a trailer like this? I use very soft springs, in the 1500 lb combined range. I use a 4 inch drop axel and 70 series low profile 14 inch auto tires, not trailer tires. I am trying to create as soft a ride for my boat as possible and the 30 psi that I can run in an auto tire is much softer then the 60 psi used in trailer tires.
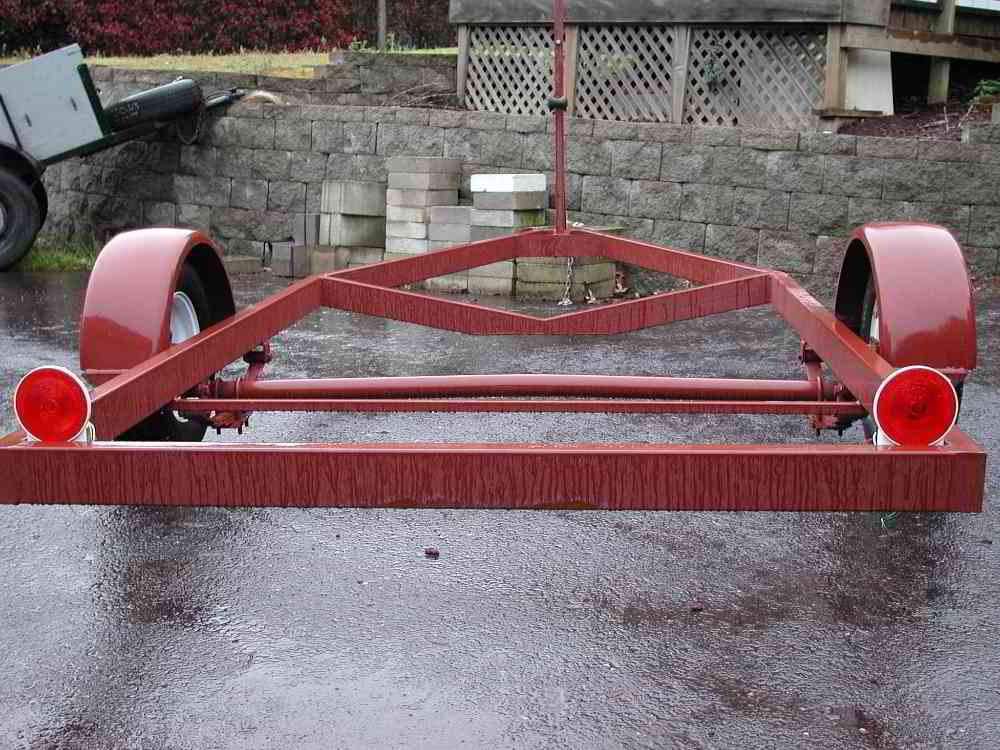
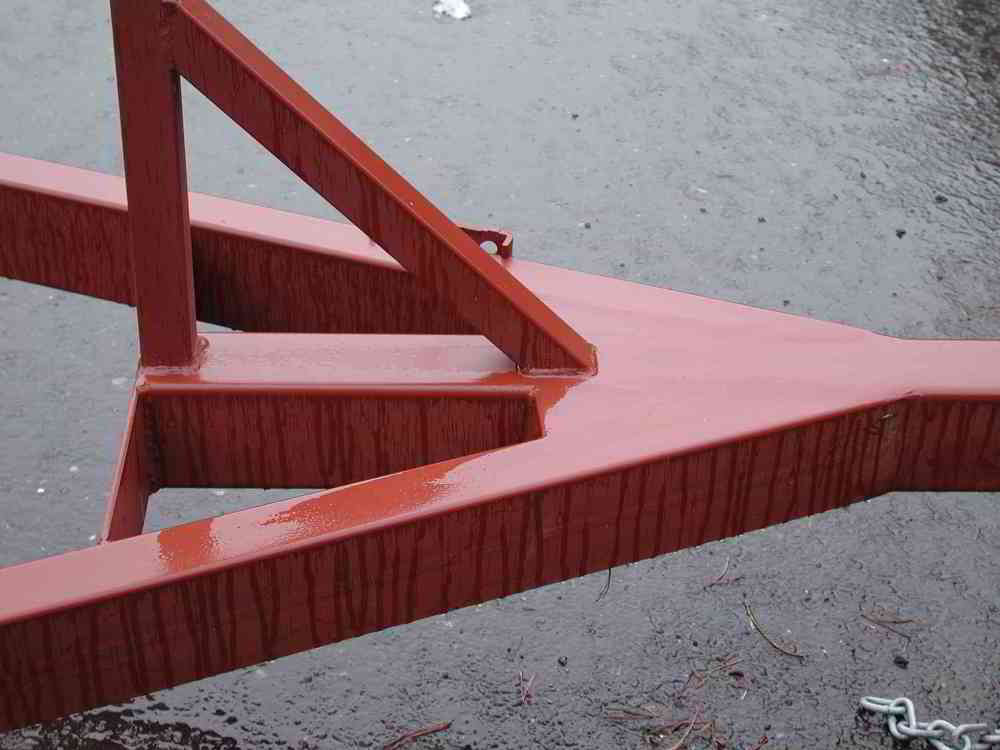
On my new trailer I dropped the first cross member in a V 4 inches deep. This is a great concept and has some significant advantages: 1) It puts the bow of the boat still lower to the ground giving great access when rigging the boat on the trailer, 2) it reduces windage when towing and 3) It gets the stern up higher so there is less chance of dragging when exiting steep driveways. However, I found that 4 inches is too much. It made the front cross member so low in the middle that it will drag on speed bumps and the boat sits so low that it is conceivable that if you hit a real hard bump and bottomed out both springs at the same time the axel might hit the bottom of the boat. I would recommend a maximum 2 inch drop on the front cross member or mount the axle under the springs to get more ground clearance.
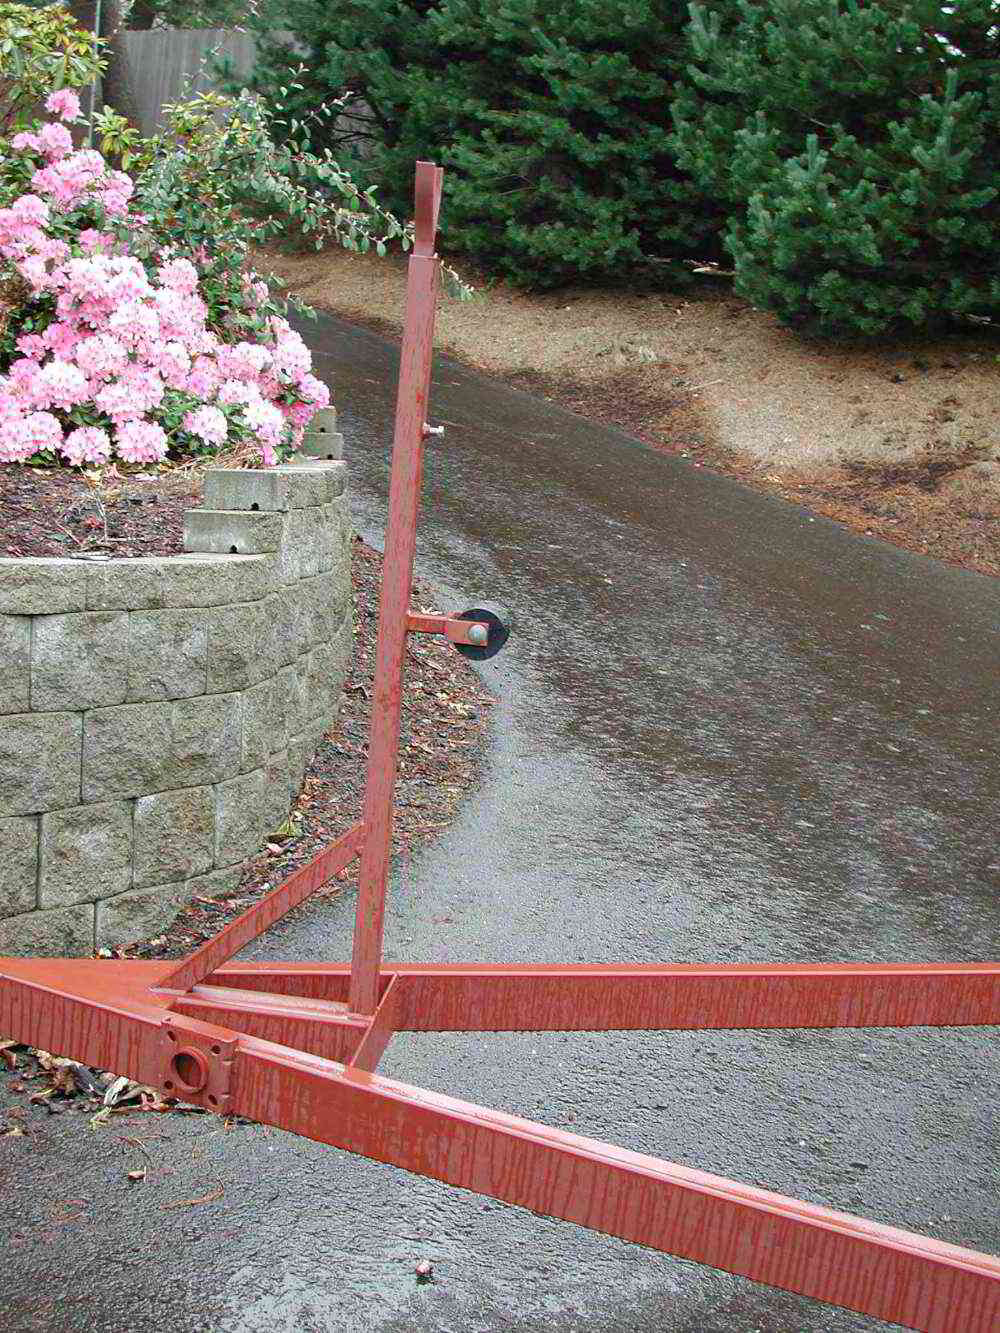
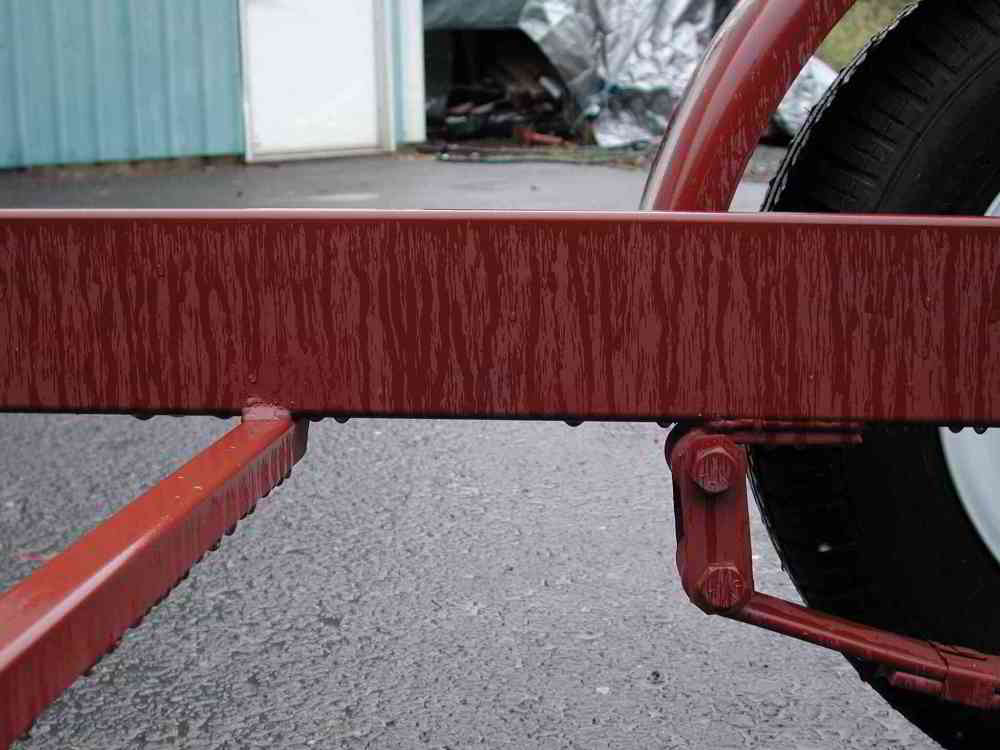
In previous trailers I welded the spring hangers and fenders to a separate angle iron part about 2.5 feet long on each side and then bolted this to the trailer. This allowed adjusting the wheel position for hitch weight before bolting in position. On this trailer I was confident enough of the axel position that I welded the spring hangers directly to the trailer.
Axels, I use a 4″ drop axle which most suppliers only supply in a higher load range than I want but this is not really a problem. Another axel option is the new torsion axels. These are great axles and get the trailer low to the ground. The problem I have had is that they do not seem to some in light enough load rages to give the soft ride that I want for my boat. Dave Sexton of Northwest One Design “NWOD” has said that he has found a supplier of torsion axles that would meet my low load requirement. If so this would probably be my choice of axle for my next trailer although is hard to beat a soft leaf spring.
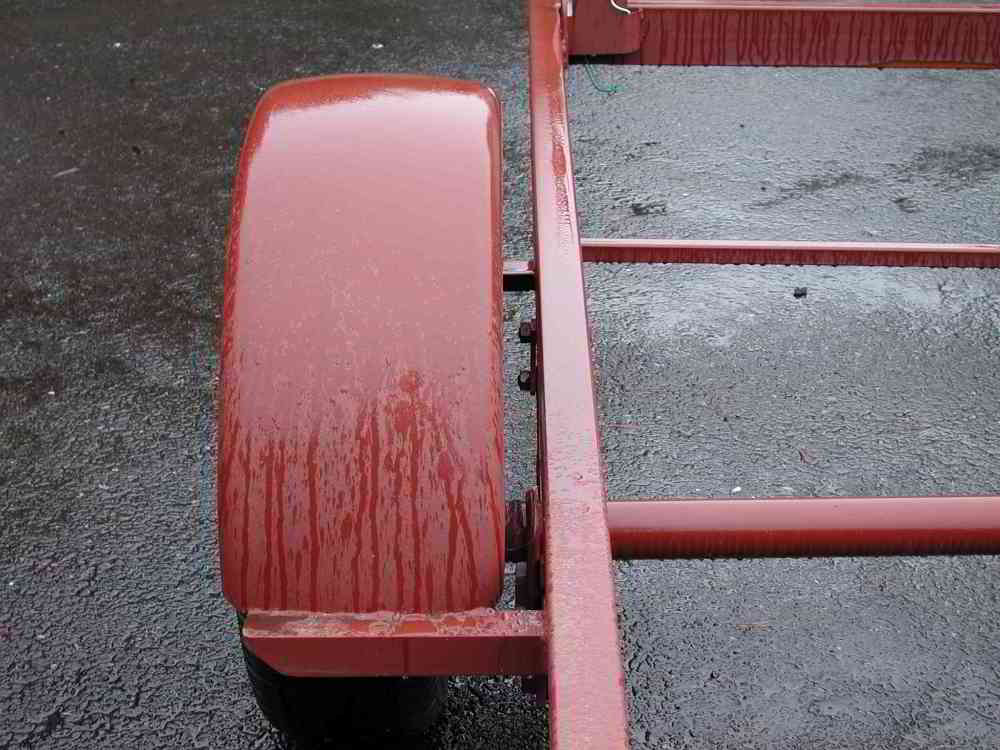
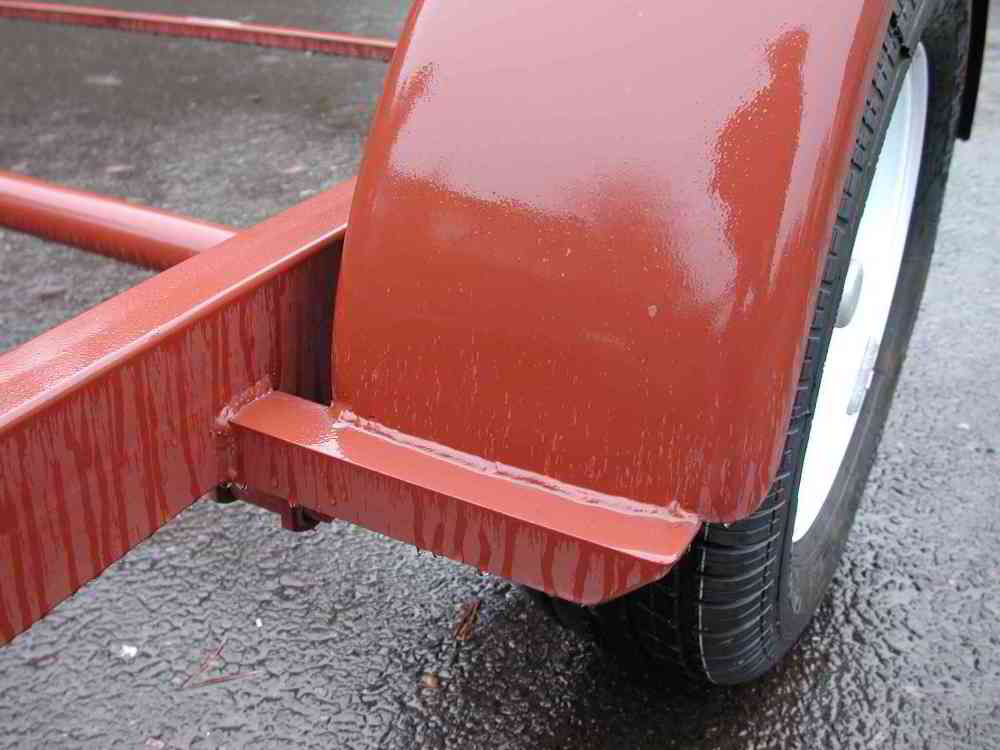
Fenders are another consideration. These are usually available in several widths. I think the wide fenders look the best and offer better protection for the boat, however you need to be very careful when selecting and mounting them because the fender to boat clearance can become an issue. I only ended up with about 1/2 inch this time and that is not as much as I would like. Part of that was due to setting the boat deeper in the trailer with the 4 inch V in the front cross member. If I had used a shallower V then the problem would not have been as great, however i might still have used narrower fenders just to be sure.
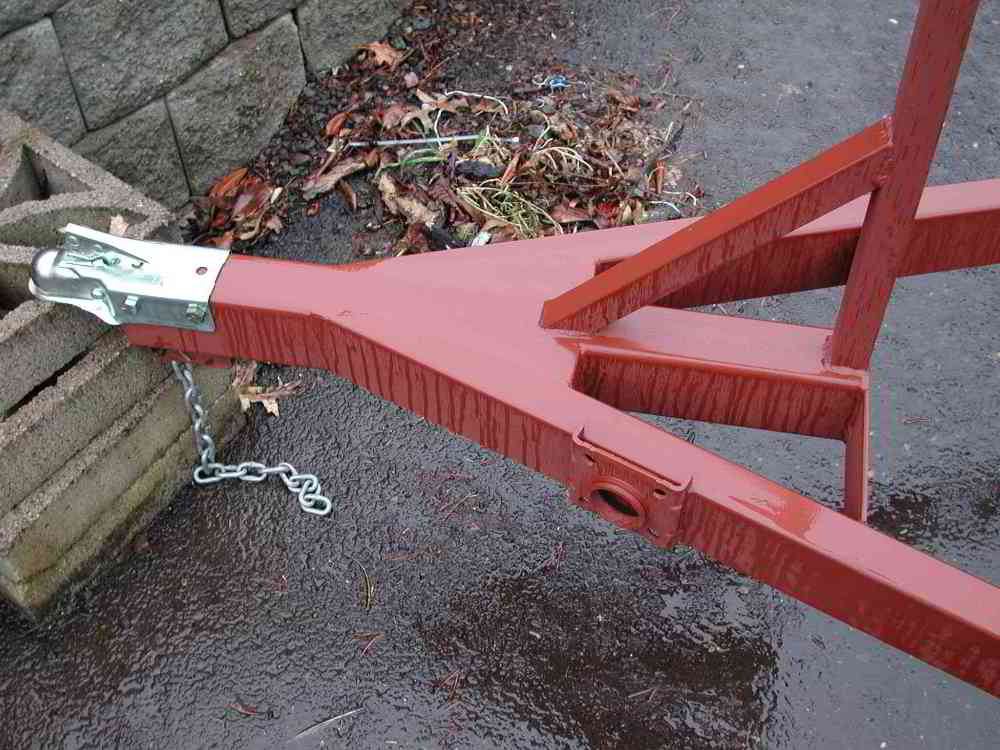
An issue with box tubing for trailers is internal rust. If you only dip in fresh water this is not much of a problem but salt water will eat up the tubes in a few years. I have not found a perfect solution for this but I did try to build my last trailer so that all tubes were water tight but this is almost an impossibility for the armature welder. I think galvanizing is the best answer but finding someone to due it at reasonable rates is the problem. When galvanizing, consideration needs to be made on with box tubing construction to leave appropriate drain holes suitable for the galvanizing process. Be sure to talk to the galvanizer before starting construction.
My bunks are constructed of multiple layers of mat and cloth so they are approximately 10″ to 12″ wide. I like to have the center of the bunk very heavy and the front and back edges thinner so that they will flex a little and not create a hard spot against the hull. The bunks are laid up using the boat as a mold. This is done by turning the boat over and covering the appropriate areas with Mylar and then laying up the glass. Be very careful not to get any resin on the bottom of the boat as it is reported that this can effect performance. In one case I heard of someone bonding a set of bunks to the bottom of the boat and that was real slow as well as a real mess. Be careful if you do this.
When done laying up the bunks tape them in place on the boat and turn the boat over, use a hoist of some type, lower it into position over the trailer and then cut some 3/4″ plywood to put on both sides of the front and back cross members and shape it to the bunk. Clamp the plywood to the trailer and fill the gap between the bunk and plywood with resin mixed with a filler such as wood flour or chopped fibers. Fillet this resin mixture and then apply glass tape. Note: while doing this keep 95% of the boat weight suspended on the hoist so there is no deflection in the bottom of the boat while the bonding putty sets up. When the bond to bunks is solid bolt the plywood to the trailer and put 2″x2″ spacers between the plywood on top of the cross members and screw and glue them in place. These spacers will take most of the downward load rather then the bolts.
When using this type of trailer do not lock the bow in solid. Use a roller as the front stop and tie the boat forward but allow it to move up and down. This will prevent stressing the boat as the trailer flexes. Even with 2 x 4 box tubing there is substantial flex. My normal procedure is not to tie directly from the bow to the front post, but to run a line from the stanchions to the front post to hold the boat forward and then a rear tie down where the back bunk is located.
So what are the minor improvements in this latest design? 1) the forward side rails are longer so that they are easier to stand on while rigging the boat. The original design optimized the use of steel so that only two 20′ lengths of the 2×4 box were required. This limited the length of the side rails and the front rails were tucked under the boat far enough to make them difficult to stand on while rigging. This time I used a little more steel. 3) The front cross member is dropped in a V to lower the front of the boat, again for easier rigging and getting the stern farther off the ground. (see comments above). 4) The tubes were made water tight (I hope).